
This lesson is made with PSPX9
But is good with other versions.
© by SvC-Design
Materialen Download :
Here
******************************************************************
Materials:
GHSilver0106.jpg
Leny-mistedv231.psp
Monaiekje ag10.jpg
Tamer 73-1
Tamer 78-5
tubeclaudiaviza-flores3.psp
tubeclaudiaviza-mix51.psp
tubeclaudiaviza-mix201.psp
tubeclaudiaviza-mix236.psp
******************************************************************
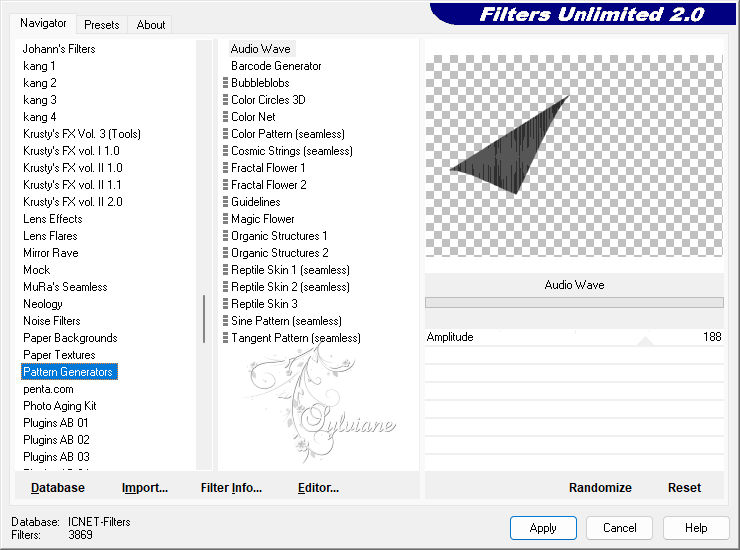
Plugin:
Plugin - unlimited 2.0 - Patern Generators - audio wave
******************************************************************
color palette
:

******************************************************************
methode
When using other tubes and colors, the mixing mode and / or layer coverage may differ
******************************************************************
General Preparations:
First install your filters for your PSP!
Masks: Save to your mask folder in PSP, unless noted otherwise
Texture & Pattern: Save to your Texture Folder in PSP
Selections: Save to your folder Selections in PSP
Open your tubes in PSP
******************************************************************
We will start - Have fun!
Remember to save your work on a regular basis
******************************************************************
Foreground: #565656
Background: #2f2f2f
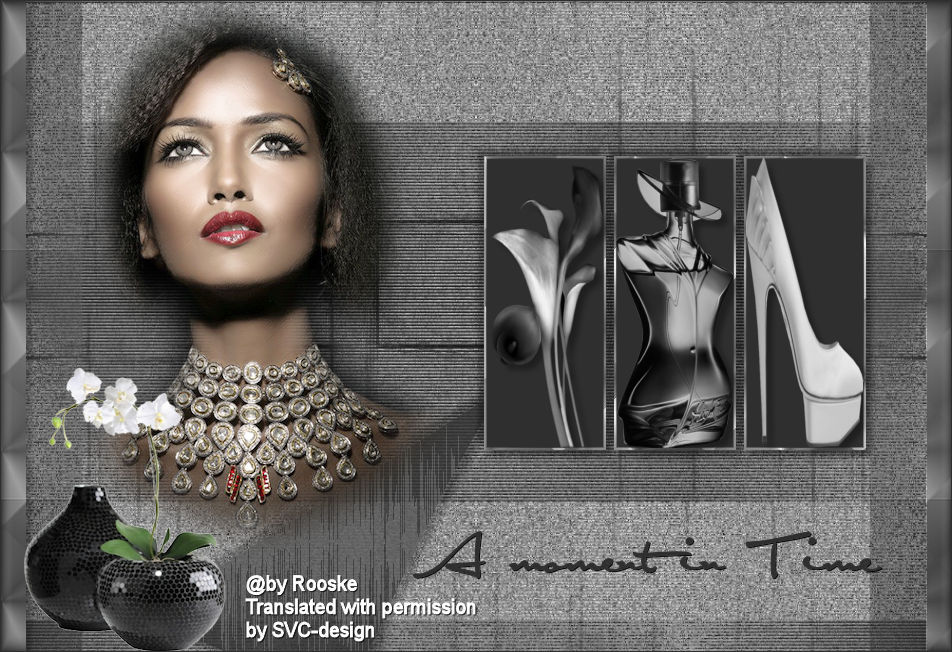
1.
Open a new transparent image 950 x650 pix.
Fill with background color.
Layers - New Raster Layer
Selection - Select All
Open Monaiekje ag10.jpg
edit – Copy
Edit - Paste into selection
Selections - select none
Layers – Duplicate
Image - Mirror – mirror Horizontal
Set the layer opacity to 50
2.
Layers - New Raster Layer
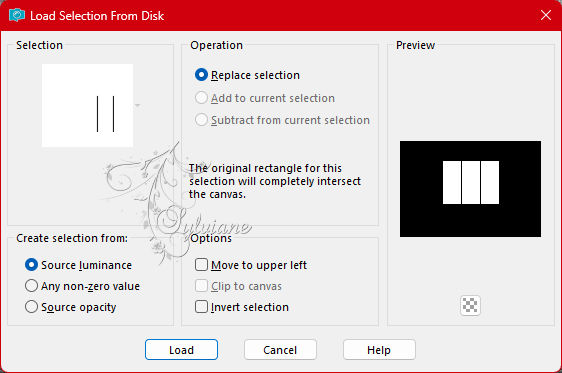
Selections - Load / Save - Load selection from disk - Tamer 73-1
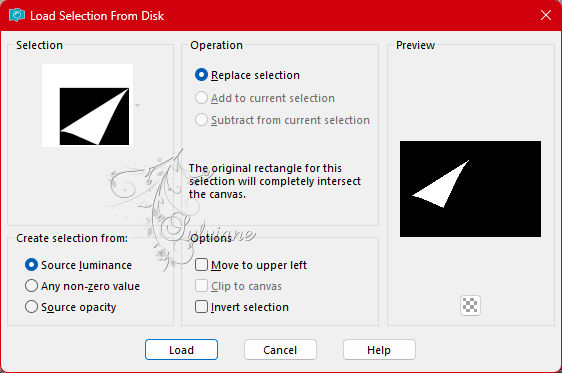
Fill the selection with background
Selections - select none
Plugin - unlimited 2.0 - Patern Generators - audio wave
Set the layer opacity to 78.
place it as in the example
3.
Open Leny-mistedv231.psp
Edit – Copy
Edit - Paste as new layer
Resize image 80%
Move her to the left (See my example.)
4.
Layers - New Raster Layer
Selections - Load / Save - Load selection from disk - Tamer 78-5
Fill selection with background.
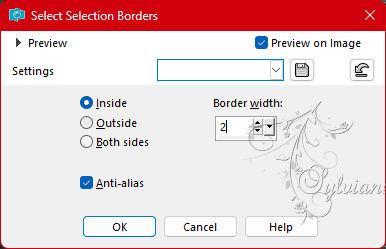
Selections - modify - select selection borders
Fill the selection with silver pattern.
Selections - select none
place it as in the example
5.
Activate raster 3 layer with the selection from before.
Click with your magic wand tolerance :50 and feather on 0 in the first frame.
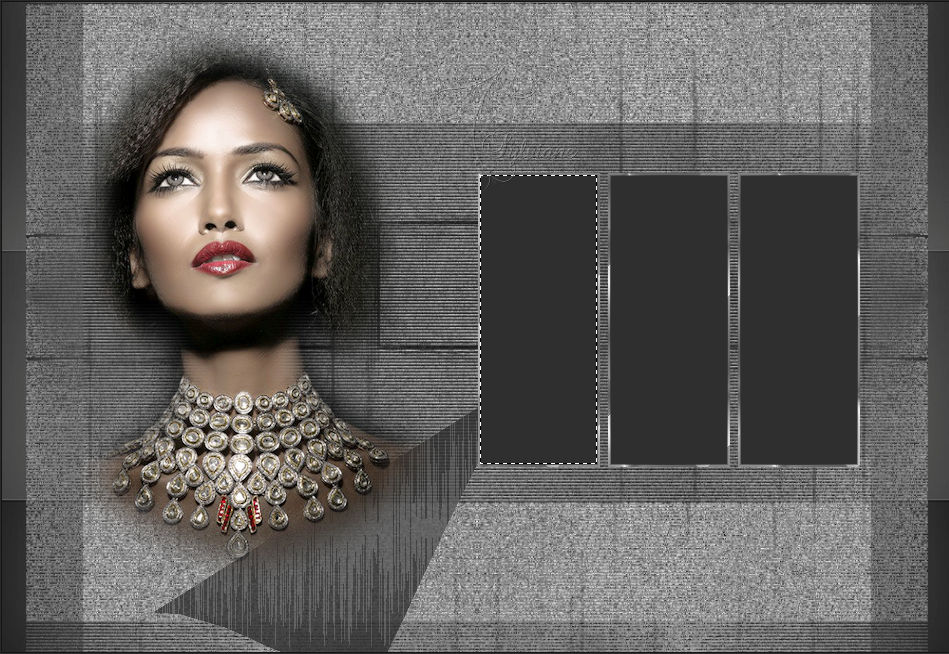
This is selected.
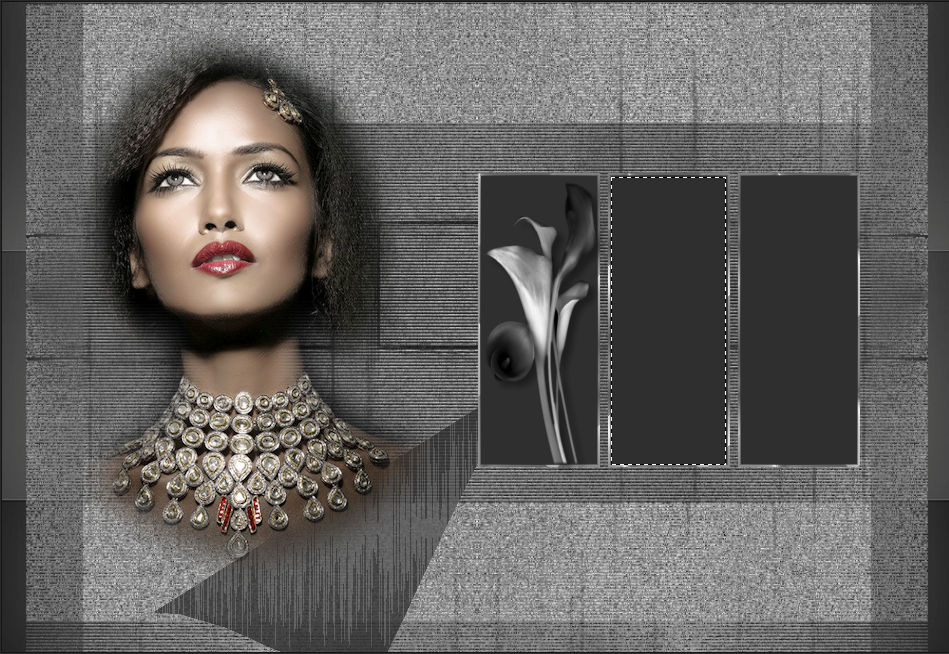
Layers - New Raster Layer
Open tubeclaudiaviza-flores3.psp
Image - greyscale
Edit – Copy
Edit - Paste into selection
Selections - select none
Effects - 3D Effects - Drop Shadow
6/6/35/8 color:#000000
6.
Activate raster 3
Click in the center box and select.
Layers - New Raster Layer
Open tubeclaudiaviza-mix201.psp
Image - greyscale
Edit – Copy
Edit - Paste into selection
Selections - select none
Effects - 3D Effects - Drop Shadow
6/6/35/8 color:#000000
7.
Activate raster 3
select the right frame
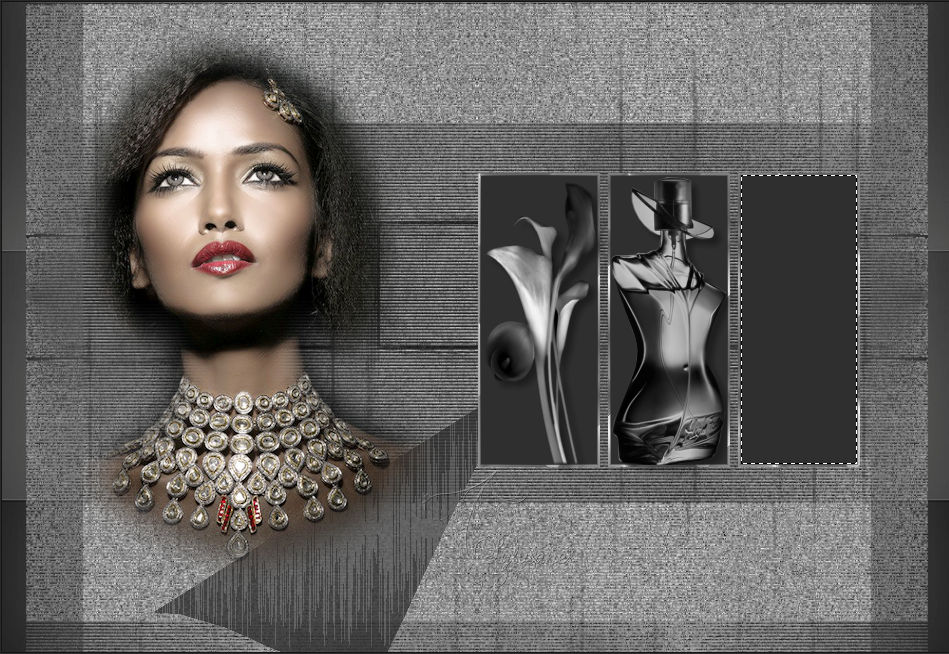
Layers - New Raster Layer
Open tubeclaudiaviza-mix236.psp
Image - greyscale
Edit – Copy
Edit - Paste into selection
Selections - select none
Effects - 3D Effects - Drop Shadow
6/6/35/8 color:#000000
8.
Activate the top layer
Layers – arrange – move down (x3)
Activate grid 5
Effects - 3D Effects - Drop Shadow
6/6/35/8 color:#000000
Repeat drop shadow with Ver and Hor -5.
9.
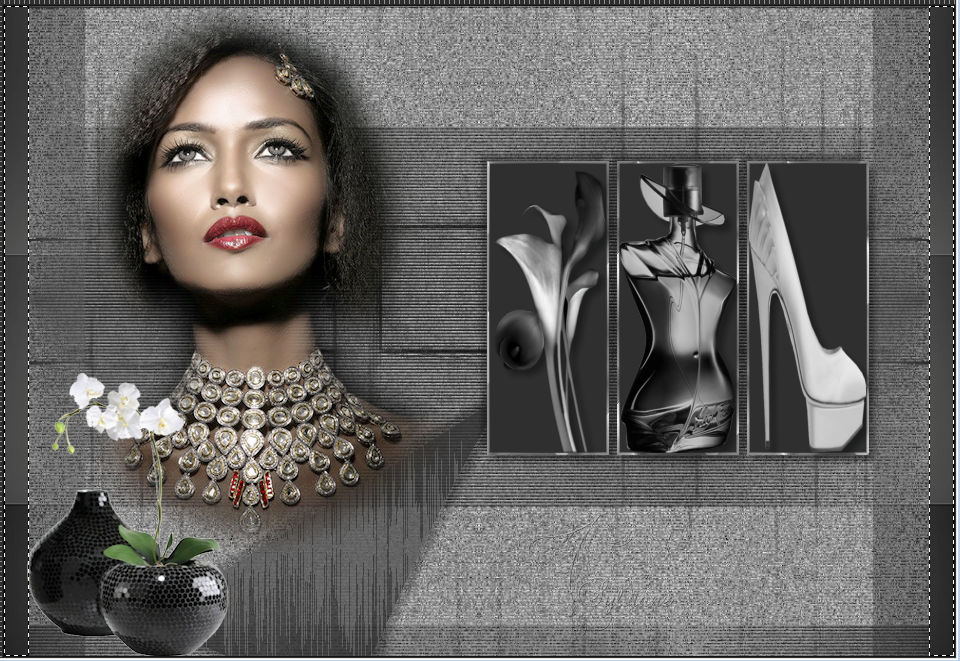
Open tubeclaudiaviza-mix51.psp
Edit – Copy
Edit - Paste as new layer
Resize image 2x 80%.
Effects - 3D Effects - Drop Shadow
6/6/35/8 color:#000000
10.
Select with your selection tool on rectangle the 2 narrow strips to the left and right of your creation.
Fill the selection with silver pattern.
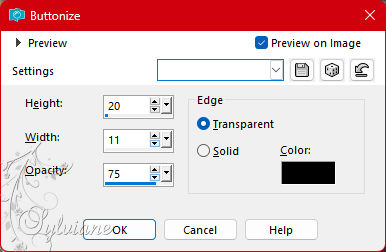
Effects – 3D effects – Buttonize
Effects - 3D Effects - Drop Shadow
6/6/35/8 color:#000000
Selections - select none
11.
Layer – merge – merge all (flatten)
Activate your text tool - size 48 pix
Font Al Sandra
Lock your foreground and dark background.
Type your tekst:
“A moment in Time”
Convert layers to raster layer.
Effects - 3D effects - drop shadow
1/1/100/1 color:#000000
Put your name on your creation and merge all layers.
Image - Add Borders – Symmetric - 1 pix – color: background.
Make your creation 600pix longest side.
Adjust - sharpness - sharpen.
Save as JPG.
Back
Copyright Translation 2023 by SvC-Design